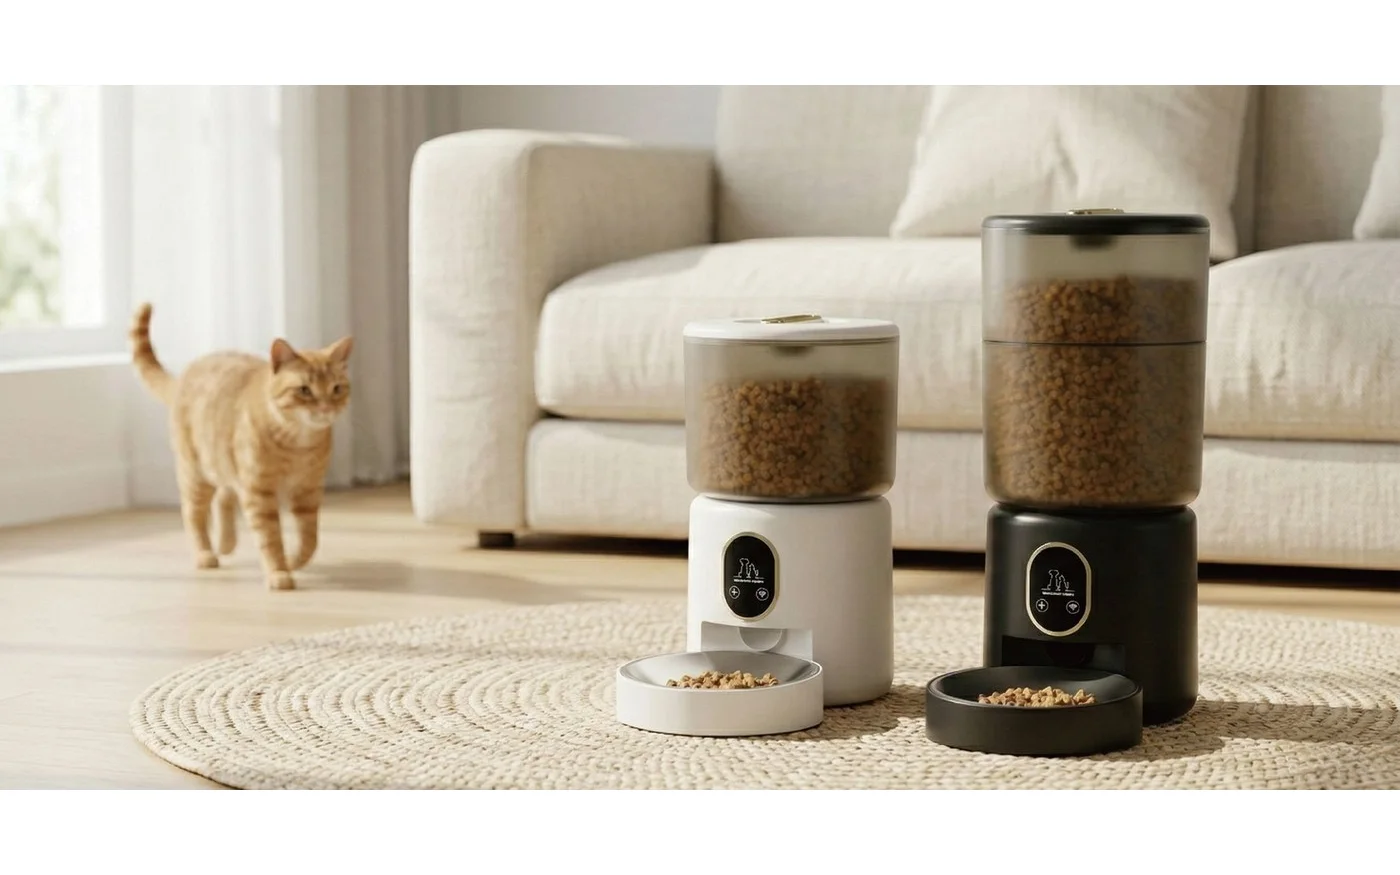
How to Clean an Automatic Pet Feeder — and Why the Bowl Was Never the Problem
You clean the bowl, so the feeder must be clean, right? Wrong. The bowl is the one part your pet actually licks clean. The real grime hides in the hopper, the chute, and the auger — a film of rancid oil and saliva-borne moisture you can't see but your pet can smell. Here's how to actually clean a feeder, and why the dishwasher is a trap.
November 7, 2026 · 6 min read · 1307 words
Here's the quiet secret of the automatic pet feeder: the bowl is the cleanest part of it. Your dog licks that bowl until it shines twice a day. What never gets licked — what nobody ever thinks to wash — is everything above it. The hopper that holds two weeks of kibble. The chute the kibble slides down. The auger or paddle that pushes each portion out. That whole hidden mechanism is where an automatic feeder actually gets dirty, and almost nobody cleans it until the pet refuses to eat or the house starts smelling faintly of stale fryer oil.
And when that smell finally shows up, the advice everyone reaches for is the one piece of advice that's actively wrong: "just toss it in the dishwasher." For most feeders, the dishwasher isn't cleaning the machine — it's slowly killing it, warping the plastic, degrading the seals, and driving water into the motor base. By the time you notice, the feeder is often beyond saving. So before you trust the soap and hot water to do the thinking for you, let's look at what's actually happening inside the thing.
The Bowl Was Never the Problem
To clean a feeder properly, you have to understand where the dirt comes from, and it isn't from the food sitting in the bowl. It's from two places nobody considers.
The first is the hopper. This is the reservoir at the top that holds weeks of food at a time. Every time you refill it without emptying and washing it first, you're layering fresh kibble on top of a permanent, ever-thickening film at the bottom. Kibble is coated in fat — that's what makes it taste good and hold its shape — and over time that fat oxidizes and turns rancid. It migrates to the walls and the base of the hopper, where it sits. This is why a feeder can start smelling like old oil even when the food inside it is brand new. The smell isn't the food. It's the residue of every bag that came before.
The second is the dispenser mechanism — the auger, paddle, or gate that portions out the food. This is where moisture enters the equation. A cat or dog eating from the bowl below exhales warm, humid breath straight up into the chute, day after day. Saliva droplets land on the paddle. That moisture, combined with the fat film and room-temperature air, is a perfect recipe for the exact thing you don't want near your pet's food: mold and bacterial growth, often invisible, growing in a crevice you've never once opened.
The bowl, by contrast, gets licked clean twice a day and rinsed when you're good about it. It's the one part of the feeder that doesn't need much attention. The parts that need attention are the ones the food passes through before it ever reaches the bowl.
Why Your Dishwasher Is a Trap
It feels like progress, and it usually makes things worse. Here's the honest breakdown of what a dishwasher does to a feeder.
First, there's the motor base. If your feeder has any electronic part — a timer, a sensor, a camera, a battery — that part can't go in the dishwasher at all, ever. Water and detergent will find their way into the electronics and kill them. This part is hand-wash territory, and for many models it's the only part you can't remove.
Second, there are the removable plastic parts. Hot dishwasher water is genuinely brutal on the kind of plastic used in hoppers and chutes. It can warp a hopper just enough that the lid no longer seals, or that the auger no longer turns freely, which means the feeder jams or over-dispenses. The detergent is worse: standard dishwasher pods are strong enough to strip the surface and accelerate the plastic's breakdown, leaving a chalky, micro-scratched finish that grabs onto oils even faster than before. You've cleaned it, and somehow it now gets dirtier sooner.
Third, there are the soft parts — the silicone gaskets and O-rings that seal the hopper to the base and keep moisture out. Heat and aggressive detergents degrade silicone over time. Once a seal stiffens or cracks, the "watertight" hopper quietly starts letting humidity in, which is how you end up with damp, clumped, spoiled food at the bottom of a feeder that was supposed to keep food fresh.
None of this means the dishwasher is useless. It means it's the wrong tool for a device whose entire job is precision. Clean a feeder the way you'd clean a coffee grinder, not a casserole dish — carefully, by hand, with the mechanism in mind.
A Cleaning Routine That Actually Works
You don't need to scrub the thing daily. You need a short weekly habit and a thorough monthly one.
The weekly habit takes two minutes. Wipe the bowl and the mouth of the chute with a damp cloth, then dry them. That's it. This stops saliva and moisture from building up into anything worse. It doesn't need to be a production.
The monthly deep clean is where the real work happens, and it's genuinely simple if you do it in the right order. First, unplug the feeder and run the food out until the hopper is empty — don't dump half-eaten food back into the bag. Then disassemble everything that comes apart: hopper, lid, chute, auger, bowl, any removable gaskets. Set the motor base aside; you'll only ever wipe that with a barely-damp cloth, never submerge it.
Wash all the removable plastic parts by hand in warm, soapy water. Use a soft brush — a bottle brush works perfectly — to get into the chute and the auger grooves, because that's where the fat film hides and where a cloth can't reach. This is the step people skip, and it's the step that actually removes the rancid smell. Rinse thoroughly, because soap residue is a smell and a taste your pet will notice. Then dry every piece completely before reassembly. Water is the enemy here — trapped moisture in the auger or behind a gasket is exactly what you just spent twenty minutes trying to prevent.
One more thing worth doing: if the smell of rancid oil lingers after a proper wash, wipe the hopper and chute with a splash of white vinegar and warm water before the final rinse. It cuts the fat film better than dish soap alone, and it rinses away clean. Avoid bleach and heavy degreasers — they're too aggressive for the plastic and leave a residue you don't want anywhere near food.
What Actually Shortens a Feeder's Life
If there's one thing to remember from all of this, it's that feeders die from three things, in this order: moisture, rancid oil, and aggressive cleaning. Notice that "using it too much" isn't on the list. A well-maintained feeder can run for years, and a neglected one can start failing inside a single season.
The moisture problem comes from breath, humidity, and — ironically — from overzealous washing that never fully dries. The rancid oil problem comes from refilling on top of old residue instead of washing between batches. The aggressive cleaning problem comes from the dishwasher and from harsh chemicals, which warp and degrade the exact parts the feeder needs to work precisely.
The fix for all three is the same small set of habits: empty and wash the hopper between bags rather than topping it off, keep the chute wiped down, dry everything fully, and keep the whole machine away from the dishwasher. A feeder is a simple machine, and like any simple machine, it rewards a little regular attention and punishes neglect far faster than you'd expect. Clean the parts you can't see, and the parts you can see will take care of themselves.
Referenced in this guide

Keep reading